-
Launch
the WebFOCUS Welcome Page in the environment where you want to create
a change package with the Change Management Extract Utility.
http://hostname[:port]/ibi_apps/
where
- hostname[:port]
Is the name of the Web server and optional port number (specified only if you are not using the default port number) where the WebFOCUS Web application in the desired environment is deployed.
- Click the Managed Reporting Change Management Extract link.
-
Type
your Managed Reporting Administrator or Developer user ID and password
and click Logon.
The Change Management Extract Utility loads and displays the Domains to which the developer or administrator has access.
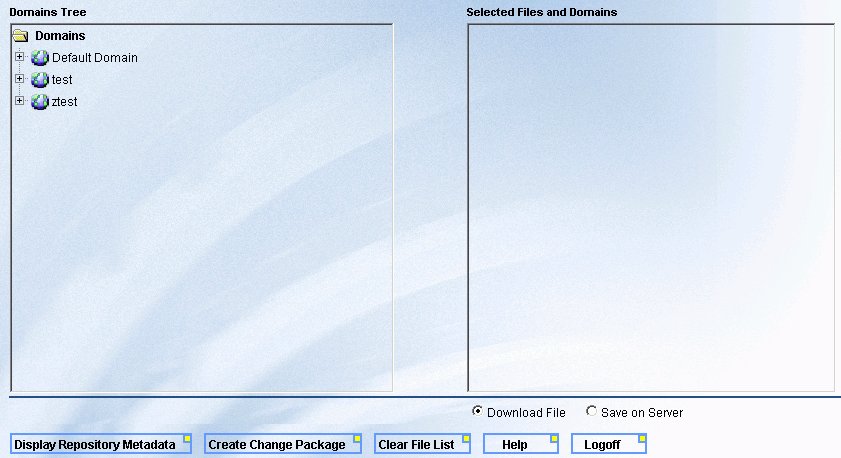
The following image shows the Change Management Extract Utility available to administrators, which displays the Domains Tree pane on the left and the Selected Files and Domains pane on the right. The available options include Download File (default) and Save on Server.
Note: The Extract Repository Metadata button only displays for administrators. For more information, see Extracting Repository Metadata.
-
Expand
the folders in the Domains Tree pane. You can select individual items
from a domain or the contents of an entire domain for your change package.
You can single-click (or drag and drop) one or more items from a domain. You can also select the domain's help and profile files.
You can also double-click (or drag and drop) a domain to conveniently select all of the content from this domain. Properties of the domain, for example, its Server and/or Application Path, are not propagated by the change management process. Note that a selected domain is a collection of the domain's content, not a complete clone of the original domain.
When you select an item or domain, it appears in the Selected Files and Domains list. If you select duplicate items or domains, they are only added to the change package once. You should not select individual items from a domain that is already selected.
-
If you
need to remove an item or domain from the Selected Files and Domains
list, select the item and press the Delete key.
To remove all items and domains from the Selected Files and Domains list, click the Clear File List button.
-
By default,
the Download File option is selected. Click Create Change
Package to download the change package to your browser.
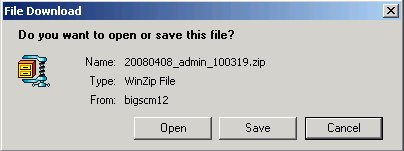
You will then have the option to open it or save it locally, as
shown in the following image.
The naming format for the change package is: YYYYMMDD_admin_HHMMSS.zip. The format is Java Zip (which is WinZip compatible). If you have WinZip installed locally, open the change package. To ensure that the Change Management utility recognizes the file and processes it correctly, do not change the file name or the .zip file extension.
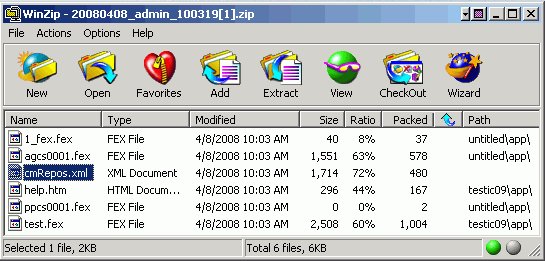
The contents of the change package includes the extracted file(s) and a cmRepos.xml document that contains metadata about the file(s), such as their internal references and properties, as shown in the following image.
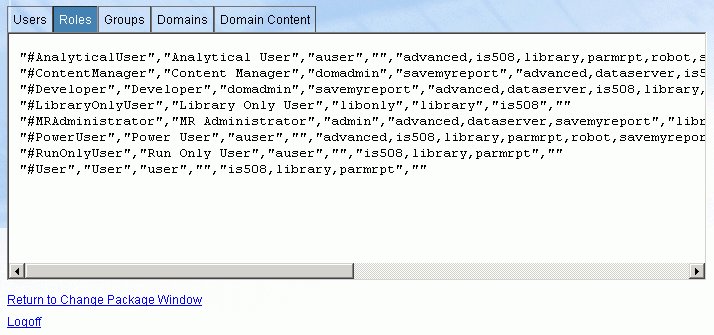
If the Save on Server option is selected, the following window opens to provide you with the name of the change package created on the server.
Consider whether you want developers to download and e-mail change packages to a coordinator, or create the packages on the Web server platform. Packages created on the server are written to install_dir/WebFOCUS76/utilities/cm/extract. You can change this location by editing the WebFOCUS deployment descriptor (web.xml) and changing the value of the context-parameter MRCMEXTRACTDIR. The directory specified by this setting must exist and be writable by the servlet container. You may want to have developers create the package on the server, and also download and e-mail them to a coordinator. This may help audit the change process since you have a record of the Developer's intent, and can load the packages from a controlled location.
Note: To ensure that the contents of a change package are not altered in any way, Information Builders recommends that you always load change packages that were created on the server.


