The following steps provide options for creating an alert in the browser.
Note: As you use the Alert Wizard, when you create reports, you may see messages that state "Report Saved". Your changes for the report have been saved but not written to the Managed Reporting Repository until the Alert is saved. To save the Alert, click Finish in the Alert Wizard. If you exit the Alert Wizard before you click Finish, the Alert is not saved.
-
Right-click a Standard Reports folder
or subfolder. Select New Standard Report and
then Alert Wizard from the context menus.
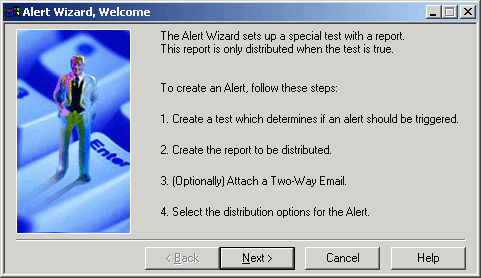
In the browser, the Alert Wizard Welcome window opens, as shown in the following image, and lists the steps to create an alert to set up one or more tests. (The alert report is distributed only if the entire test evaluates as true.)
-
Click Next.
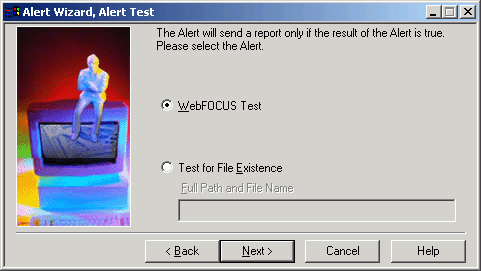
The Alert Wizard, Alert Test window opens, as shown in the following image.
-
Select
the alert test.
- If you want
to check for a file, click the Test for File Existence option
button.
Type in the full path to the file on the WebFOCUS Reporting Server that you want to check. Do not use a file name or a file path that includes spaces.
Click Next.
If the file is located, the alert report is sent. Proceed to Step 12 to create the alert report (event procedure).
- If you select WebFOCUS Test (the default), click Next.
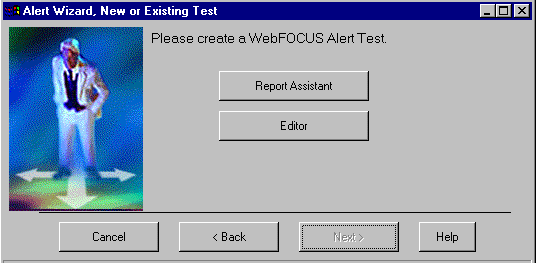
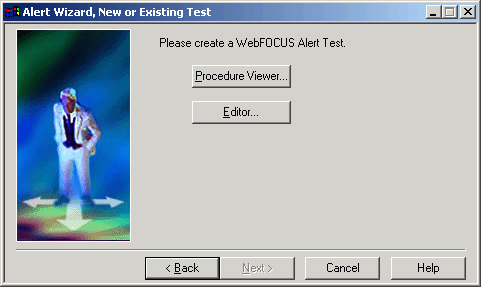
The Alert Wizard, New or Existing Test window opens, as shown in the following image, containing two buttons, Report Assistant and Editor.
- If you want
to check for a file, click the Test for File Existence option
button.
-
Select a tool to create an alert test.
Select either Report Assistant or Editor to create an alert test.
If you choose Report Assistant (recommended), proceed to Step 5.
If you choose Editor, proceed to Step 9.
Note: If you neglect to specify an alert condition, cancel the alert and reenter the information. Clicking the Back button causes Managed Reporting to abend.
-
Choose
a Master File.
The WebFOCUS Masters List window opens in the browser. Select a data source description and click OK. HTML Report Assistant opens to assist you in creating selection criteria for your alert test. For more information on HTML Report Assistant, see the WebFOCUS Managed Reporting End User's Manual.
-
Select
your options in HTML Report Assistant. When you have finished click Quit.
Note: When creating an alert test, amper variables in a WHERE condition must have a value specified in the schedule. This is because alerts run unattended and are not able to collect a value from a user. For more information see the ReportCaster Development and Administration manual.
-
You
are prompted to save your changes. Click Yes.
You return to the Alert Wizard, New or Existing Test window.
- Click Next. Proceed to Step 12.
-
If you
chose Editor in Step 4, the Editor window opens. Type your alert test
procedure in the editor window.
Note: You must include an ON TABLE HOLD command in your alert test.
-
When
you have completed the procedure, select Exit from
the File menu in the browser. The Editor Save Changes window opens.
Caution:
- If you use the Editor to create an alert test, you can no longer use Report Assistant to edit the alert test. Information Builders recommends using Report Assistant to create the alert test and the alert event.
- If you are creating an alert test with the Editor and you specify a parameter (&variable), you must create the alert event with the Editor.
- Click Yes to save your alert test. You return to the Alert Wizard, New or Existing Test window. Click Next.
-
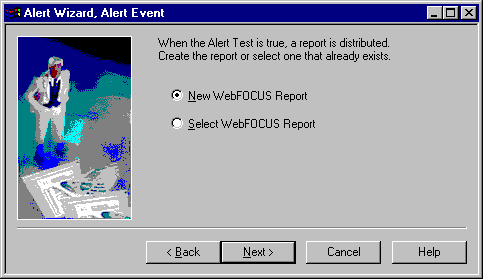
The Alert Wizard, Alert Event window
opens, as shown in the following image. You can indicate which report
to distribute when the alert test is true. It can be a report you
create or one that already exists.
- If you choose New WebFOCUS Report, click Next and proceed to Step 13.
- If you choose Select WebFOCUS Report, click Next and proceed to Step 16.
For information on which option to select, see the Considerations note in Components of an Alert.
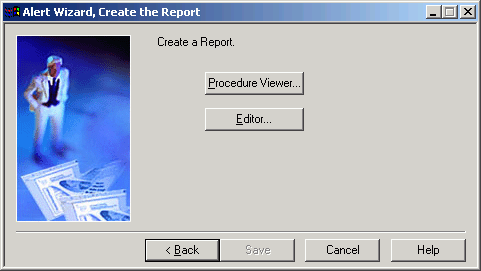
- The Alert Wizard, Create the Report window opens, as shown in the following image. Create a new report with the Report Assistant or Editor.
-
Click Next when
you have completed the report for the alert event.
The Alert Wizard, Two-Way window opens. To attach a Two-Way Email template, proceed to Step 17. Otherwise, continue to Step 15.
- Click Save and proceed to Step 19.
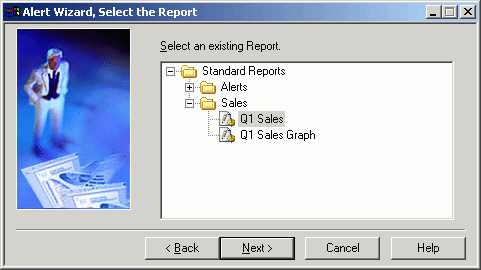
- Select your report from the Standard Reports folder and click Next, as shown in the following image. The Alert Wizard, Two-Way Email window opens.
-
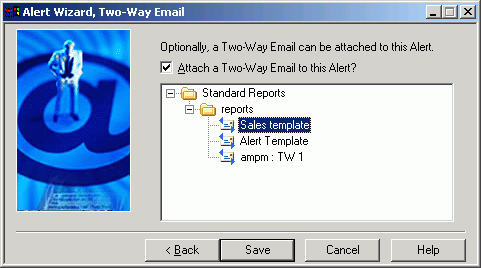
You can now optionally attach a Two-Way
Email to the alert if your server is licensed for Two-Way Email
and has Two-Way Email templates. You select Attach a Two-Way Email
to this alert for an optional Two-Way Email to be attached to the
alert. (The check box is unchecked by default.)
When you select the Attach a Two-Way Email to this Alert check box, a tree of reports available to Two-Way Email opens. This tree consists of only Standard Reports that have Two-Way Email templates. If a Standard Report does not have any Two-Way Email templates attached, it is not listed.
Note: If a Two-Way Email template is attached to an alert, the schedule distribution option is limited to e-mail only. If the Two-Way Email template is subsequently detached, the distribution option is not refreshed and is still limited to e-mail only. To access the additional distribution options, recreate the alert.
For more information on Two-Way Email, see the WebFOCUS Managed Reporting Administrator's Manual.
-
Click Save after
you have selected the Two-Way Email template.
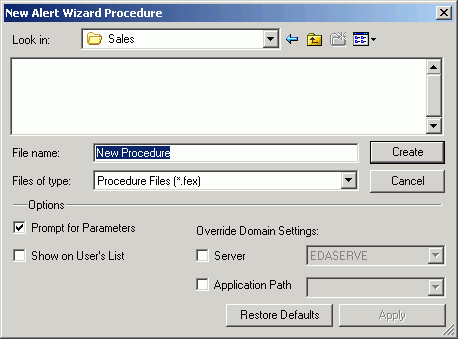
The Save New Alert Report window opens, as shown in the following image.
- Type the name for the alert and, if applicable, check the Prompt for Parameters or Show on User's list check boxes.
-
Click OK.
The Alert Wizard, Schedule window opens.
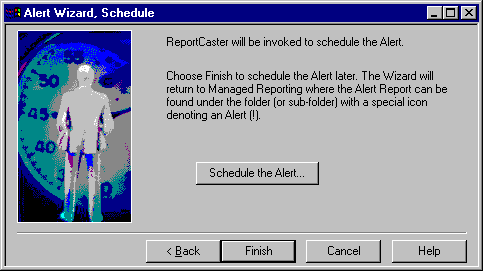
The following image shows the Alert Wizard, Schedule window which contains the Schedule the Alert button.
-
Click Schedule
the Alert to invoke ReportCaster to schedule the alert.
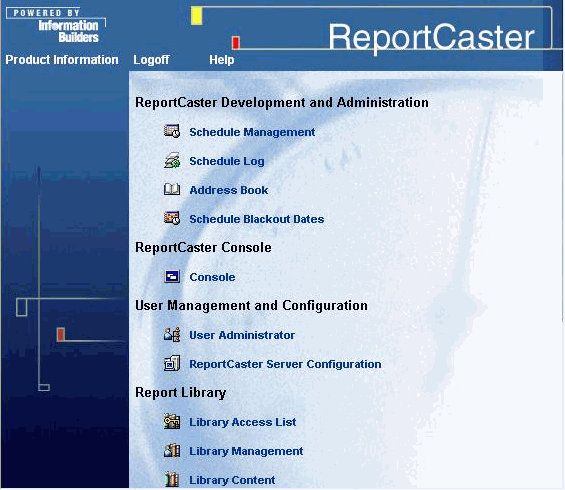
The ReportCaster Development and Administration Interface is invoked,
as shown in the following image. Click Schedule Management to
open the scheduling management interface, then click Create
a New Schedule to schedule the alert.
Note: If you prefer to schedule the alert at a later date, click Finish instead of Schedule the Alert. Your alert report appears in the folder (or subfolder) with a special
 icon denoting an alert (as distinguished
from a Standard Report).
 -
When
the Development and Administration User Interface is invoked, click
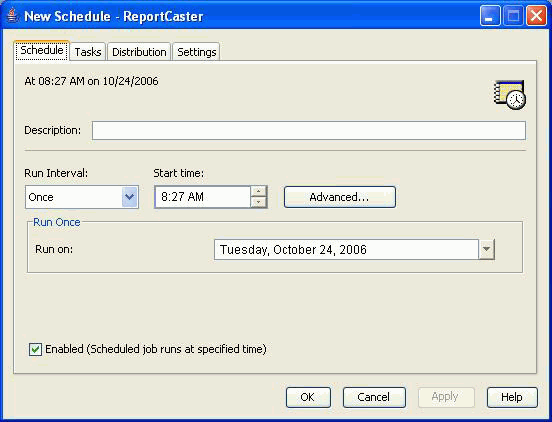
the Create a New Schedule link. The New Schedule-ReportCaster window
opens, as shown in the following image, where you select the frequency,
start time, and date to create the schedule alert.
Tip: To schedule an alert, you must create a Task. Since an alert is a Standard Report, you must select the Standard Report Task Type when creating an alert schedule. For more information, see the ReportCaster Development and Administration manual.
-
Exit
ReportCaster and click Finish.
The alert report displays in the Domain Builder of the Managed Reporting browser.
