WebFOCUS Online Help > ReportCaster End User > ReportCaster Single Page Scheduler Tool > Report Options
In this section: |
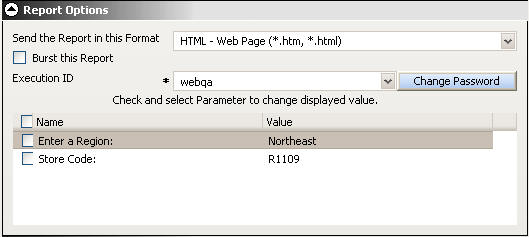
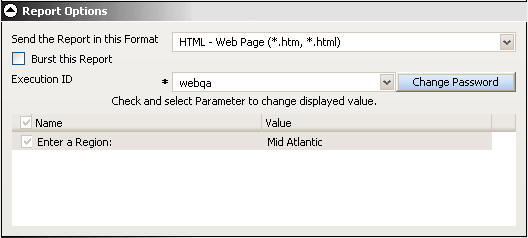
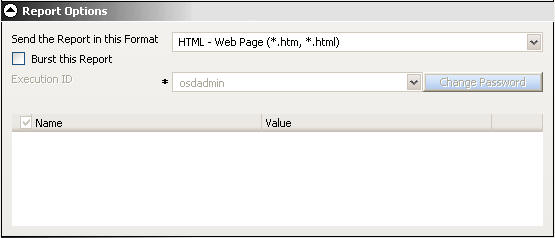
This section describes the options available in the Report Options section of the Scheduler tool. You can set these options to send the report in a specific format (for example (HTML, EXL2K, and so on), whether or not you want to burst the report and if so, the burst values the report will use, and specify parameter values to pass to the report when it runs.
The following images shows the Report Options section of the Scheduler tool.
The burst feature enables you to break a report into sections and distribute relevant sections to individual users. To burst the report, select the Burst this Report check box. Burst values can be specified in a Distribution List.
Select the format of the report from the Send the Report in this Format drop-down list of the Scheduler, Report Options area. For available formats, see ReportCaster Formats for Scheduled Output.
There are limitations on what formats are valid for certain options. Not all formats are supported for bursting or for printing. If the report format statement in the coded procedure is a styled report format, then you must select a styled report format (for example, AHTML, EXL2K, EXL97, HTML, or PDF). The report format specified in this field overrides the format statement in the procedure.
If the report format statement in the coded procedure is a specialized report format, such as EXL2K FORMULA, or if it is Coordinated Compound PDF Report, it is required that you select the same report format that is specified in the procedure.
If a TABLE request containing an unstyled binary format is scheduled for distribution as a styled ASCII format (for example, EXL2K, HTML, or PDF), the report is not created by the Reporting Server and the ReportCaster log report contains a No destination found for this distribution message. This also occurs if a TABLE request containing a styled ASCII format is scheduled for distribution as an unstyled binary format.
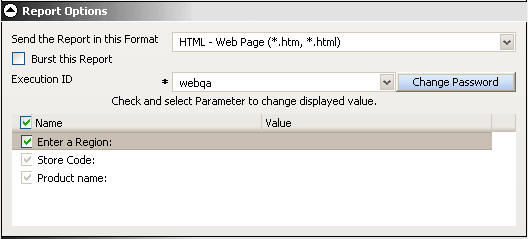
If the report you are scheduling contains parameters, they are listed in the Report Options section of the Scheduler tool. The following images shows the Report Options section for a report with parameters.
The report parameter name automatically appears in the Name column. The value or possible values of the parameter available to you in the Reports Options section depends on the report procedure. The report procedure either assigns no value to a parameter, assigns a default value, or provides a selection of values from which you can choose.
The possible presentation of report parameters in the Report Options section are:
When you access the report Scheduler tool, parameters with default values have a check next to their name and parameters with a choice of values have a grayed-out check mark next to their name. The following image shows a parameter with a default value (Enter a Region) and parameters that provide a choice of values (Store Code and Product name).
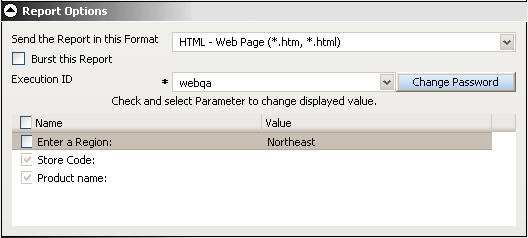
To select the default value for a parameter, uncheck the box next to the parameter name. If you want all parameters in the list to use their default values, uncheck the Name option. The default value for the unchecked parameters appear in the Value column. The following image shows the Enter a Region parameter unchecked and its default value displayed in the Value column.
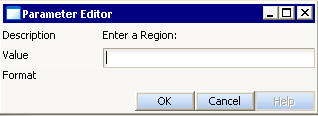
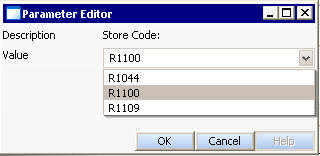
Parameters with an active check mark next to their name have a default value or no value assigned. To change a default value or assign a new value for a report parameter:
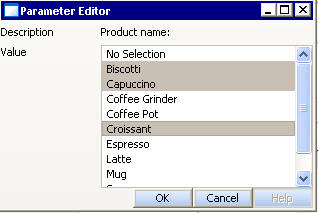
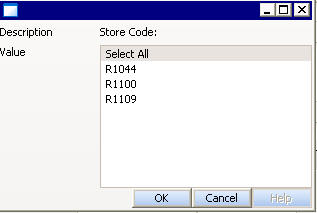
Parameters with a grayed-out check mark next to the parameter name provide a list of values from which you can choose.
| WebFOCUS |